

My husband loves to cook, especially outdoors. This apron is the perfect Father’s Day gift for dads who love to cook with their kids. It is available as a free Cricut Design Space project and is fully customizable with your child’s handprints. In this tutorial I’ll show you how I made these aprons two different ways – one with Cricut Infusible Ink and one with Siser Easyweed HTV. I’ll also show you how I digitize my kids handprints to put on Cricut projects. This apron is the perfect addition to a Father’s Day grilling basket!

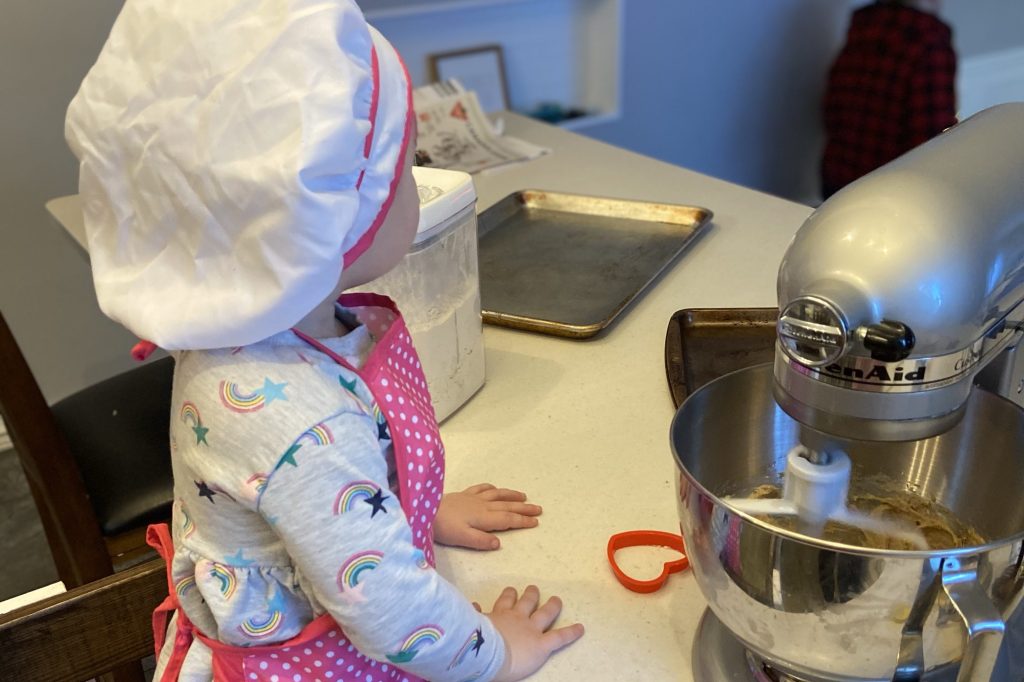
My daughter loves to help cook. Because she’s only 2 and a half and has full access to a helper stool (she even pushes it up to the stove) things can get a little bit stressful. My husband is a good sport about this, even when she yells “I want to stir!” and proceeds to scramble our fried eggs.
My design for this apron was inspired by my daughter cooking with my husband and the movie Ratatouille. If you haven’t seen that movie you really should. It’s cute, funny, charming and has a strong message that “anyone can cook”. In the movie the rat is known as the ‘little chef‘.

This apron was easy and quick to make using my Cricut Maker and Easy Press 2. You could also use a household Iron if you’re using HTV instead of infusible ink. I also went with a non Cricut brand apron that is 65% polyester and while the result wasn’t perfect it was pretty good! Without further ado, let’s get into how I made these sweet aprons.

Let’s Jump Into the Tutorial!
Materials/Supplies
- Apron – if using Infusible ink Cricut apron blanks are available for best results, but I ended up using this one and this one.
- Cricut Infusible Ink
- Siser Easyweed Pattern HTV – if desired
- Parchment paper (some comes with the Infusible ink)
- Non toxic paint
- Paper
- Card stock

Tools
- Cricut or other cutting machine
- Regular grip cutting mat
- Scraper or brayer
- Weeding tool if using HTV
- Phone camera
- Paintbrush
- Paint tray
- Towel or easy press mat
- Measuring tape
- Scissors
- Cricut Easy Press or Household iron
Step by Step Tutorial
Step 1 Make the Handprints
Digitizing the handprints was the most fun – albeit the most messy – part of this project. It was fun for my daughters – especially the 2 year old – because they actually got to take part and put their mark on the gift. Now their little handprints are memorialized on these aprons.
Next I made a deal with her that she would get to paint after the handprints were done. I don’t know about your kids, but my toddler is very headstrong and very smart. She probably wouldn’t have let me do it my way if I didn’t guarantee she’d get to do it her way after.
First, cover a surface with white paper. My daughter has a large paper pad, so I ripped off a few sheets and covered her little table with the paper. Then, I set up the paint with a paintbrush on hand.
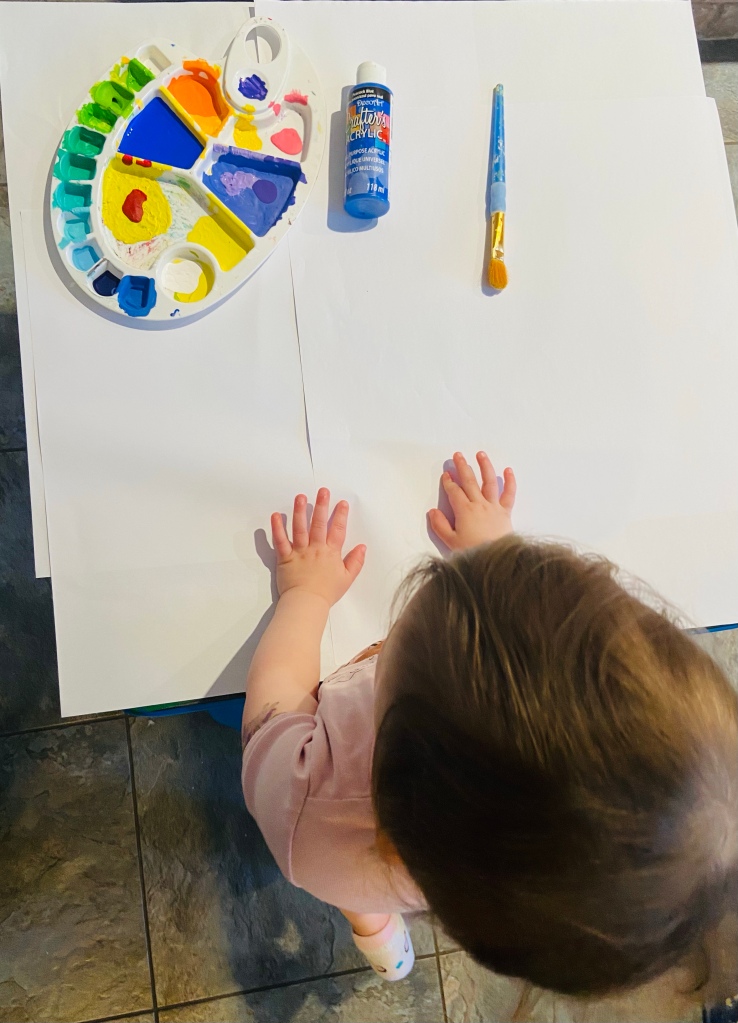
So I painted her hands one at a time using a small paintbrush and had her stamp handprints all over the place. The first ones were the nicest.


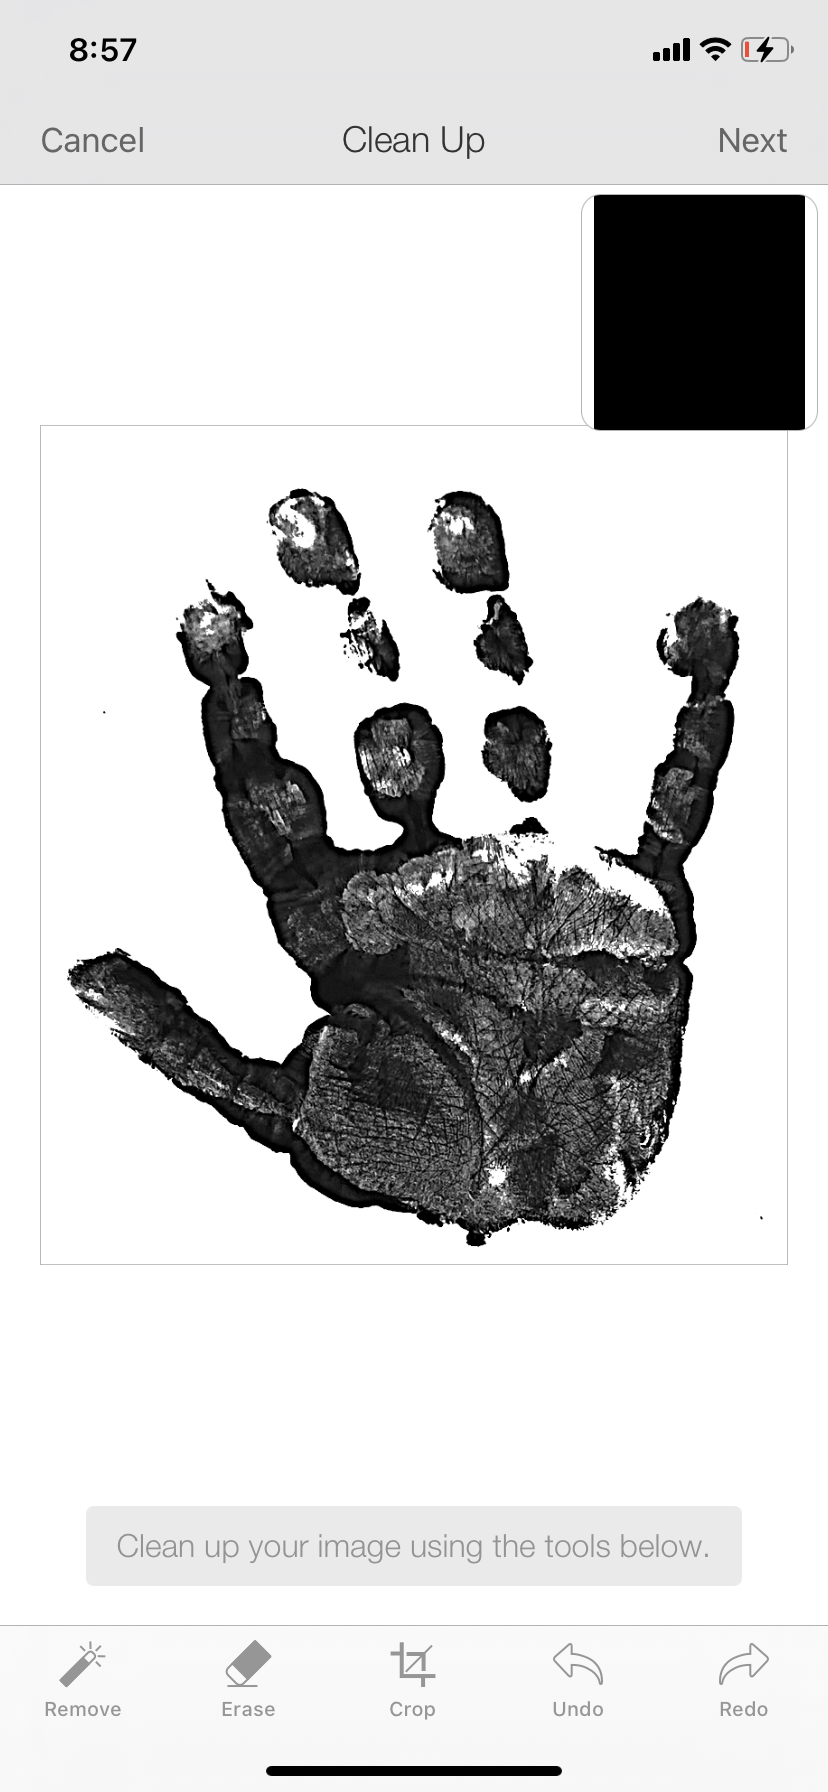
I then repeated this with my 10 month old. A little bit trickier as she’s so squirmy. Afterwards I took pictures of their little handprints and then switched them to black and white.


Next I just had to upload them into Cricut Design Space.
Step 2 Access Design Space File & Add Handprints
You can access my Cricut Design Space Project here:
Add your handprints into design space using the upload function.


I recommend just removing the outside of the print for this. If you remove ever single detail inside the print your machine may be cutting for ages.
After the handprint is in Design Space, I recommend measuring your little ones hand in length and then adjusting the length of the hand print to match. The width with automatically adjust to match. That way the handprint will be similarly sized.
Put a square behind the handprint and attach it to the handprint to make weeding easier!

Note: if you’re unsure of the sizing for an apron you can always use the design space template feature and select apron. This will help you size your design!
Step 3 Cut out the Design
Now it’s time to cut out your design!
Cricut Infusible Ink
If you’re using Cricut Infusible Ink, place it pattern side up on the mat, use a brayer to make sure it sticks, select Infusible Ink as your material, make sure to mirror the design, watch your Cricut cut. When the Cricut is cutting out the handprint it will look a bit jagged, but it will work in the end.

Heat Transfer Vinyl (HTV)
If you’re using HTV, follow the directions on the package. I used Siser Pattern HTV, for this you place the pattern side up on mat and don’t mirror the design, but every HTV/iron on is a bit different so read the instructions!
Step 4 Weed the Design
Cricut Infusible Ink
For the Infusible ink you’re supposed to weed only using your fingers. I found that I did need the weeding tool for a few sections, just be careful not to tear the transfer sheet. I used the weeding tool to very carefully remove the sheet around the handprints and the lettering inside the chefs hat.

Make sure you get all the excess tiny spots of sheet off before pressing. Even the tiny spots of ink will be visible after (trust me, I made this mistake). I know the design looks really rough, but it did turn out. Also I removed a bunch of small inside sections from the handprint when uploading it, I wish I didn’t do that. I didn’t do that for the HTV version and it was better.

Note: the first apron I made was this one and I cut out the hands with the other design. I should have gave them their own backgrounds, cut them out with scissors and pressed them separately because the easy press didn’t cover the entire design in one go, so the design didn’t turn out as well as it could have.
Heat Transfer Vinyl (HTV)
The Siser HTV is really easy to weed. After I just had to cut the transfer sheet, apply it to the design, use my scraper to ensure it was adhered, and then remove the original backing.
Step 5 Determine Placement on Apron
Use a measuring tape to determine placement of the design and handprints on the apron.

With the HTV I did this right before pressing. It’s a bit more tricky with the Infusible ink because you need to preheat the material, so I just quickly did this after the preheat before pressing. You don’t want to move the transfer sheet much so just be careful.
Step 6 Press on the Design
Cricut Infusible Ink
Cricut recommends only using Cricut blanks for this, so keep that in mind. The apron I used was 65% polyester and my result was good, but I’m not sure about longevity.

Cricut also recommends only using an Easy Press mat for this. I don’t have one so I used a towel with A 12×12 piece of cardstock over it.

Cricut also recommends using a heat press for this. I heated my Easy Press to 385 degrees Fahrenheit and did a 5 second preheat, put the design down, covered it with parchment paper, then a 40 second press using light pressure with very little movement. I should have pressed the handprints on separately because the Easy Press didn’t fit over everything. I did a warm peel of the transfer sheet.

This design didn’t turn out perfect. I can tell you why I think that was so you can learn from my mistakes:
- I didn’t use a Cricut blank (although I don’t think this had that big of an affect on the final piece)
- I left some tiny dots of ink transfer sheet on before pressing – try to get off every speck.
- I pressed the entire design and then tried to go back and press the hands. I should have just pressed the hands on separately. You can see a slight mark on the hands where I repressed.


Heat Transfer Vinyl (HTV)
Siser says to press with medium pressure at 305 degrees Fahrenheit for 10-15 seconds. Remember to put parchment paper between the iron/heat press and the design. I think I ended up doing closer to 25 seconds. Siser says you can use a regular house hold iron for this, so use whatever you have. Then I did a warm peel of the transfer sheet.


Step 7 Prepare Gift as Basket or On Its Own
Your apron is done! Now you can prepare a little gift basket to go with the theme, or just give the apron on its own! I prepared a gift basket for my husband with some BBQ rubs, metal skewers, a grilling mat, a bottle opener, and some heat proof gloves. My husband is really into grilling and smoking lately, so I know this will be right up his alley. Customize your gift basket for whoever your making it for. Maybe they are into pasta making, pastries, or even creating sourdough starters (this has really been trending during covid lockdowns), however he loves to cook, I’m sure there are perfect additions to this gift basket!

Subscribe to See More
Subscribe to my email list to be notified every time I post. For more ideas, follow me on Instagram @the_walnut_grove and pin this image to Pinterest to refer back to.

Let’s Chat!
As always, thank you for the support! If you have any questions, comments, or suggestions, please leave them down below. I’d be happy to hear from you! If you’re looking for a Mother’s Day gift, or an everyday gift to give to Grandma, here is another Cricut project I know you’ll love!

